Tuesday, June 25, 2013

It's a Mad Man World: Shirt Dress

I found this big and tall size shirt (18/36) for $3 at my new favorite store in which to find deals.  I took it in at the sides, removed and finished the sleeves, and sewed a bit up the front (I've heard this might be called a placket, but I am largely ignorant about such things).
Why am I smiling? I have no arms!
 Add a belt and this is what I got!  Sorry it needs ironing, haven't gotten to that step (or rather Andrew hasn't gotten home yet to do it for me).  I think this is my favorite one so far.
Arms are back!

Monday, June 24, 2013

Update a Little Furniture, Sit Down Tonight, Sit Down Tonight.

I've got a couple of furniture updates that happened over the summer (ahem...last summer) to share.  First, I went patrolling Craiglist for a low dresser with skinny legs (what can I say? I'm a legs girl).  Score one for the list of Craig!  The trip itself was a bit of a nightmare (let's just say a frog died and the Jacksonville boonies were visited late at night), but I'm glad we persevered.  This is it in its half-finished state.
 I sanded the everlovin' bejeezus out of the thing, and then stained the bottom and sides mahogany and painted the top white.  A couple of thin even coats of Acrylacq Safecoat (a no-voc sealer) and this sucker was done.
I captured that wild golf ball and am holding it captive.  Don't call PETA on me, please.
Next, I found a $20 chair at a local thrift store.  It swivels and rocks!  This stripe isn't even that bad if it wasn't so dirty and ratty.

A good reupholstering later with indoor/outdoor fabric and voila!  I got this done for about $250 which isn't so bad considering I got to pick the material, it has a ton of piping (yikes!), buttons, and only cost twenty smackaroos to begin with.  


I even had enough extra to make an ottoman, but that will have to wait for another day (since I haven't finished it yet).  My summer of fun continued with a church yard sale find for $10.


It was in pretty good shape again, just not my color.  See the legs?  Perfect stylistic match for the low dresser; don't know how I got so lucky.  Same MO as the other: clean, sand, stain, paint, and seal.  Here is the finished project.

That lamp is even semi-diyed since it didn't work and I rewired it.  Whew!  That was quite a bit of work now that I think about it (except the chair, that was easy...for me at least).    


Friday, June 21, 2013

Tunic Trouble

I found this little gem at Goodwill with my mater.  I just thought it was an ill-fitting dress with some pretty details and trim.  
Pretty color!  Ugly shape!
 Nope!  Unless I was planning on showing some serious leg (and hip...eek!), this was not a dress.  I decided to make it a top, so I took in the sides and hacked off the length.  I didn't want to lose the pretty detail at the bottom though, so I cut it off and attached it.
Hello green shorts...why can we see you?
Here it is!  A well-fitted and slightly adorned top!


Thursday, June 20, 2013

My first refashion!

I've been reading refashionista.net and wanting to try my hand at upcycling clothing.  Here is my first attempt!
Ack! Shoulder pads!

I got this dress at Goodwill for $6 with hopes to turn it into two different pieces.  A quick wash of an apparently hand wash or dry clean only garment, and I had enough intact to make one.  Live and learn!  I took the skirt part and fitted it my dress form, took in the sides a bit, added some straps, transplanted a detail and here is what I got.

Not bad for a first try I think!  I will definitely try another one.  It is kind of exhilarating! I paired it with a $2 thrifted belt.  I am going to hunt for cheaper pieces to start with in the future.  

Wednesday, June 19, 2013

We Interrupt Our Scheduled Program for a Relatively Unimportant Announcement

I have made the best Curried Cauliflower Soup of my life.  I'm posting this so I don't forget how to make it (it was totally spur of the moment, no recipe or anything) and so anyone who loves this kind of soup like I do can make it, too.


Ingredients:
2 onions, chopped
3 carrots, peeled and chopped
3-4 ribs of celery, chopped
4 garlic cloves, chopped
one head of cauliflower, chopped in bite-size pieces
Spices: [amounts of each are approximate since I just eyeball and never measure, I'd say add them to taste]
1 tsp. coriander (adds floral warmth)
1 tbs. mustard (adds bit of bite -very subtle)
1.5 tbs. garam masala (adds warmth with mix of nutmeg, cinnamon, cloves, etc.)
2-3 tbs. turmeric (adds subtle earthy flavor and all the color)
1.5 tbs. cumin (adds smokiness)
1 can of coconut milk
1 can of chicken broth
1 can of fire-roasted tomatoes
1 can of chickpeas
scant spoonful of sugar

1. Sautee the onions in some olive oil over high heat (I just did this in my big cast iron soup pot, one pot meal-woot!) with some salt for about 4-5 minutes until they begin to soften.  Add the chopped garlic and sautee another minute or two.
2. Add the carrots and celery and sautee for about 2-3 minutes.
3. Add all the spices and cook with the vegetation for a bit to develop their flavors.
4. Add the tomatoes and cook down for a couple of minutes.
5. Add the coconut milk, chicken broth, sugar, and chickpeas.  Bring to a low simmer.
6. Add the cauliflower and simmer until it is tender.

Toppings:
Sriracha chili sauce (for my husband's since he likes heat)
Greek yogurt (all the tang of sour cream, but no fat and protein to boot!)
toasted pepitas (pumpkin seeds toasted in dry pan with some salt)

You could always use vegetable broth or vegan chicken bouillon cubes to make this vegetarian, and do the same minus greek yogurt topper to make it vegan!

Saturday, April 27, 2013

Don't Feed the Plants!

I didn't mean it; you should totally feed your plants!  They bring joy and blessed oxygen to the world.  But don't feed the ravenous, alien, blood-eating variety (Audrey II!  No!). Random musical theatre references aside,  I have discovered a couple of indoor plants that I can't kill!  I tend to forget to water them or accidentally keep them in a dark corner where they plot their revenge for my maltreatment until they die.  Here is my short list for the indoor plant-challenged.

1) Christmas Cactus (genus Schlumbergera)

They are cactus, so keep in a bright place and water on occasion.  I have ignored this for many, many weeks at a time before, and it has survived for about 4 years so far.  It even blooms in time for Christmas!


2. Orchids  

I am absolutely not an orchid expert, and I have killed many.  This time though, my mother-in-law gave me two orchids for Easter last year, and I was determined to give it the old college try.  I keep them in my sunroom, which gets lots of indirect light.  I also keep the moss they are in somewhat moist; I walk by and touch the moss on occasion, and if it's dry, I water them.  No schedule.  Mostly ignoring.  I don't know how it works, but they both bloomed this year.  The white one has 11 blooms on it so far!  My mom did wash the leaves once since dust on them can apparently hinder the happiness of the plant.

3. Philodendron 

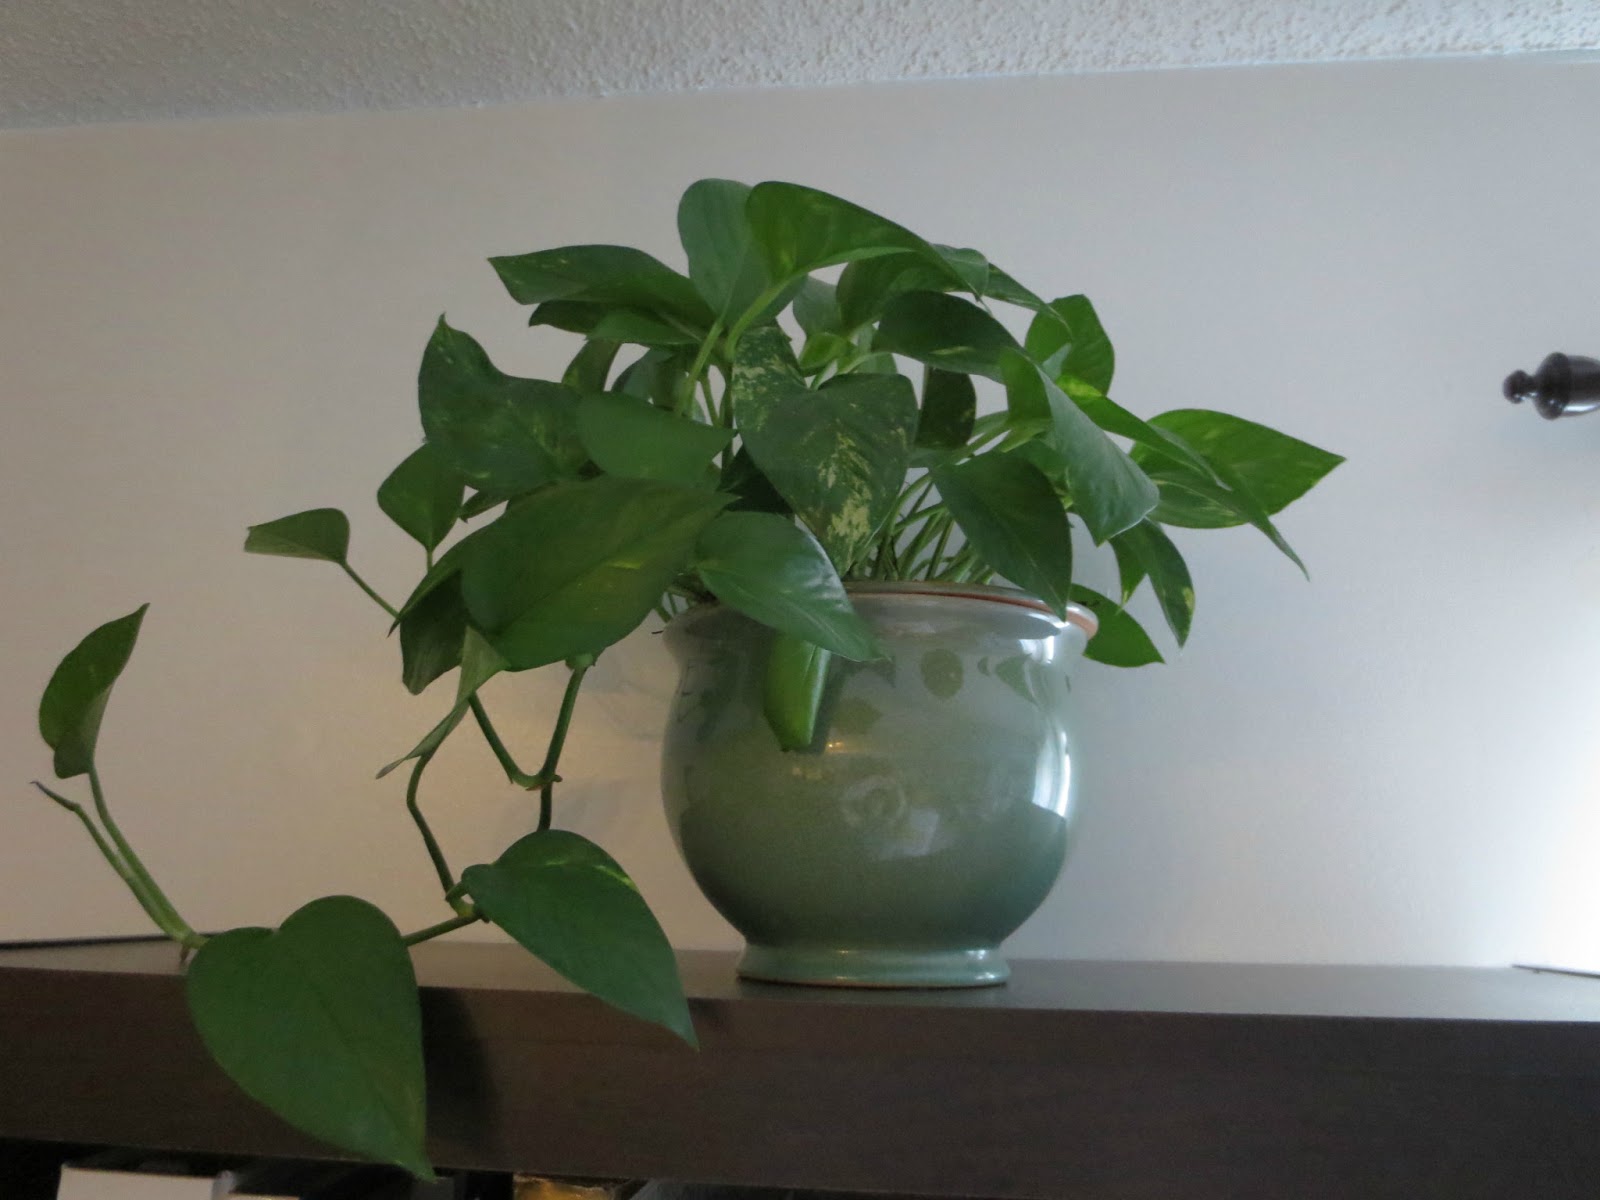
Phil for short.  He's kind of in a dark spot, I check him for dryness and water him maybe once a month.  He seems happy and gives us oxygen.  Easiest relationship I have ever had.

4. Air plants

I might have an abnormal obsession with these, but I think they are too cute!  It's like having little aliens around the house.  I literally just spray them with some water whenever I think of it.

I've got them every which way...hanging in a window...

sitting on a shelf...
 on a window sill...
in a votive holder...
in a glass container with aquarium gravel...
and even in a cage!

Okay, looking at them all together, I might have a problem.

There you have it, my four mostly kill-proof indoor plants!  They add a bit of life to our decor, and I love them.


Sunday, April 14, 2013

My Personal Stages of Happiness

Step One: Dissatisfaction

How can you achieve happiness without first knowing pain and suffering?  Okay, those emotions may be a little strong for how I felt about our "office" set up in the weird nook next to the fireplace.
I had painted the wall to the nook green, and it had previously been home to just bookcases and at one awkward time, our television (awkward since there is a sliding glass door directly to the right of this picture and someone would have to walk directly in front of the T.V. viewer to get out that way).  The television also had to be way too far from the couch to accommodate the door.  Anywho, this was barely functional (it always felt really cramped) and didn't really provide much in way of desk space.  These are just two Target bookcases squunched together (technical term) with an old computer desk's pull out keyboard tray screwed to the underside of a shelf.  We lived with this for about a year, but it was starting to grate at my aesthetic nerves.

Second Step: Inspiration
First step was to remove everything and repaint the wall white. It somehow made the tiny nook look quite a bit bigger, which was actually surprising.  Next step was to thrift store shop for a suitable desk.  I considered Ikea stuff, but it was all too...generic and sterile for this area.  I love Ikea, but sometimes thrifted things have more personality.  I found an old (1990- not actually old) Bombay company desk at a thrift store and a headboard. Cut off the bottom section of the headboard and I got this lovely image.

Third Step: Drudgery
Somehow it fit the space perfectly.  I painted everything white (trying out Benjamin Moore's Advance paint-like it so far) and attached some leftover bead board to the back of the headboard (the old back had seen better days).  
Step Four: Shopping
I found some really handsome knobs at Hobby Lobby (on sale for 50% off, don't ya know).
A thrifted mirror later...
Step Five: Art-Making
I needed quite a bit of art to fill the space above the desk.  I laid it all out on the ground first to find the best arrangement.  Something asymmetrical but not too wonkified.  I had this Ikea frame that had white corners and natural wood everywhere else.  I said I didn't like the look of the light wood color and my lovely husband suggested I paint it a color.  I found this cute print at Ikea and color inspiration struck.  Taped off the white corners and sprayed away! (Sorry for the terrible photo, the corner can actually be quite dark...haven't gotten my perfect lamp yet)
Next was a Valentine's Day card my husband got me from Anthropologie.  Best one I've ever gotten. I just used a spray-painted thrifted frame and some craft paper as a mat.
Next, a cool page from last year's calendar in another spray-painted frame.
Finally, I saw this crafty technique last time I was in France, in a town called Dinan.  This artist had rolled paper and then placed them into different arrangements.  The image really stuck with me and I couldn't wait to give it a try.  I used Modge Podge and a lollipop stem to roll each piece of craft paper.  Then I used more Modge Podge to stick them into a chevron pattern.  It was time-consuming, but I think well worth it!
Step Six: Sublime Happiness
Put it all together with a few fun containers, an awesome Dali-esque clock, and you get a totally different office area!

More gratuitous pictures.

So there you have it, for about $250 or so, a totally revamped office space, a.k.a. happiness personified.